10 Great Secrets to Edit Travel Videos with GoPro
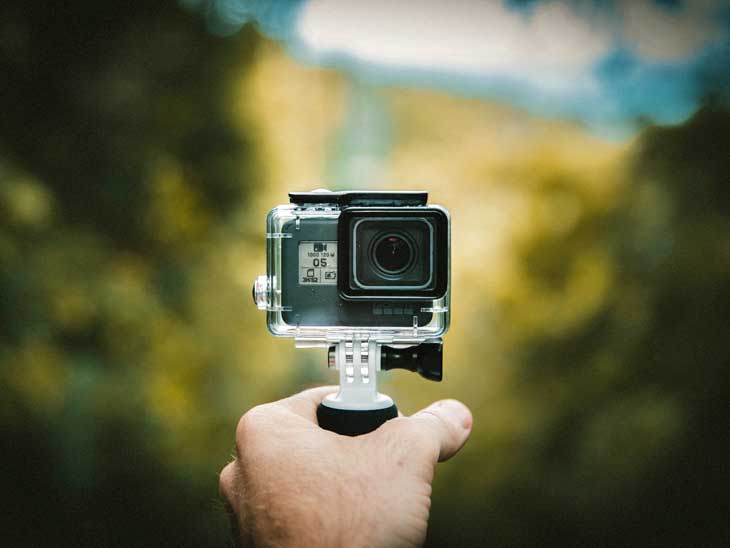
Ever since GoPro cameras came out for the first time in 2005, a lot has changed! Now, after many technological improvements and many generations of cameras, every adrenaline junkie must have a GoPro if he/she wants a video or picture of his/her adventure. You can place a GoPro anywhere: in your chest, helmet, bike, snowboard, surfing board, car, parachute, etc.! The options are endless. Even though the GoPro cameras film really good, there are ways for editing GoPro videos to improve the quality. This will make your video really stand out! In this article, you will learn 10 great secrets to edit travel videos with GoPro.
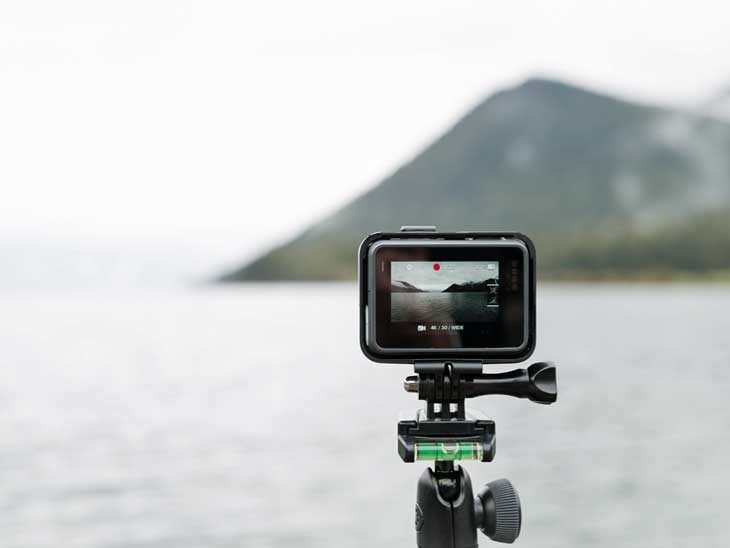
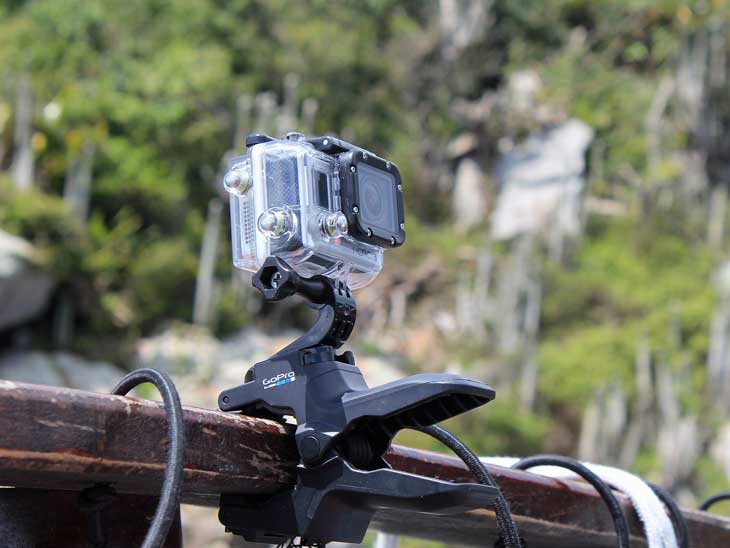
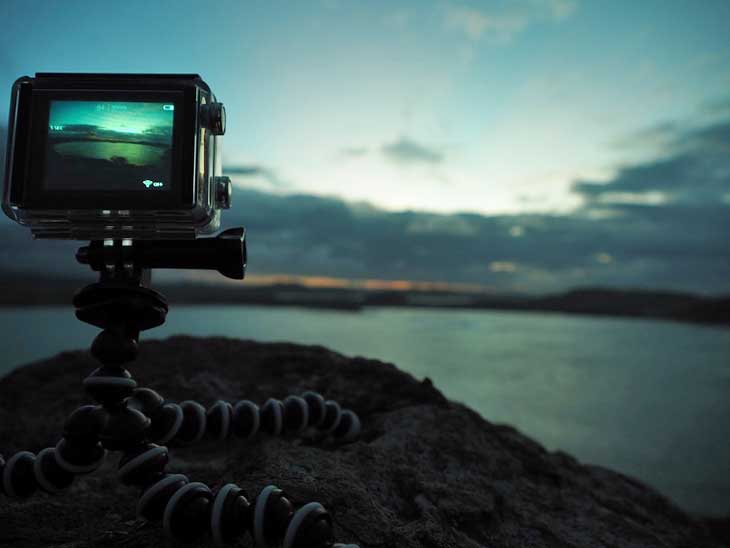
Use A Mount
This is the single easiest way to improve a GoPro video. There are hundreds of different mounts on the market. You can either mount your camera on a helmet or chest or you can simply decide to buy a tripod for stable stationary shots. As a professional, I recommend testing out the different places where you will mount the camera to determine which spots work best to shoot awesome pictures and videos. Also, you should know that different mounts will provide different POVs which are extremely helpful when telling the story you want.
Practice with your gear at home before the official shoot.
If you are not used to with your GoPro gear & accesories, it is a good idea to learn about the settings and how to best mount it at home, before you go on your adventure. It is better to learn at home than on the road, trust me on this! If you don’t know how to properly shoot with a GoPro, you can’t possibly think you can learn while you are trekking Mount Everest with its sub-zero temperatures.
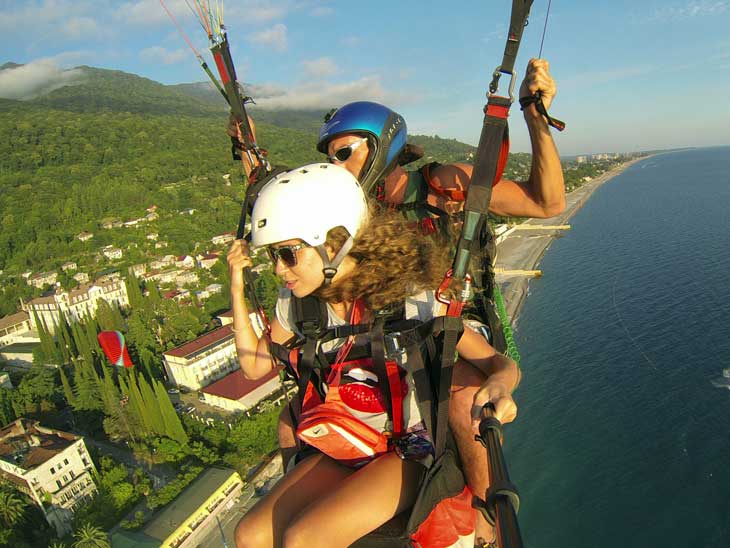
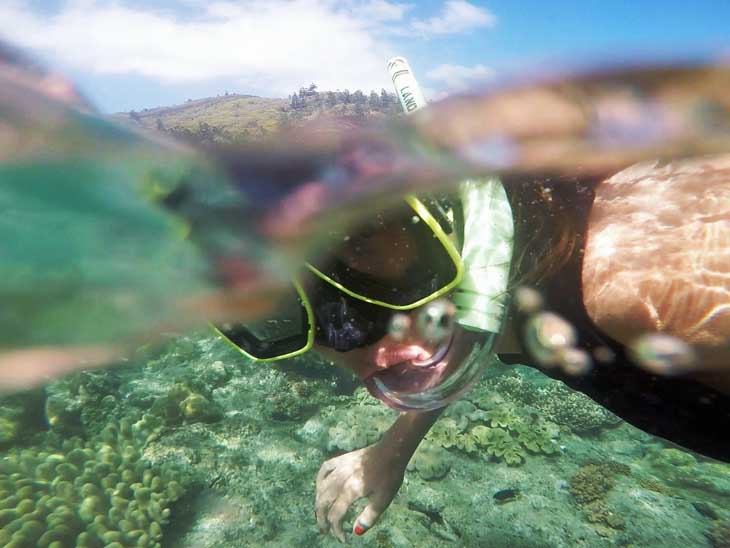
Find your best angle
As you have witnessed, a GoPro offers a very wide angle of view which comes in handy when capturing the action. Also, it is possible to illustrate a sense of speed, depending on where you place the GoPro. Furthermore, I know for a fact that if you place your GoPro strapped to your chest, you will get more dramatic footage than if you mounted it on your helmet. Luckily, newer GoPro cameras are better at capturing great angles. For example, the latest models can capture an ultra-wide 170-degree angle of view, a medium 127 degrees, and a normal 79 degrees. Plus, the latest models even have a touch-to-zoom function that mimics a traditional zoom lens. I really like mixing up the different fields of view as it adds quality to your video.
Don’t be afraid to filters to improve video quality
There are actual physical filters that you can place right in front of the GoPro lens to alter the light they receive. There are thousands of filters to choose from! My absolute favorite is the neutral density (ND) filter because it can work wonders when filming in really bright environments since it allows for a slower shutter speed. In other words, these are sunglasses for your camera.
Hold it steady
Even though the last few generations of GoPro have digital image stabilization, there are ways to achieve this by using some tools. Furthermore, an external stabilizer has its own benefits. If you want to capture stationary shots, I can tell you that nothing will surpass a traditional tripod in terms of stability. A tripod is enough to achieve smooth pans. When it comes to stabilizing shots in motion, all you need to get is a powered gimbal. Gimbals always use motors to counteract movement hence producing incredibly smooth footage no matter the circumstances.
Trim and Share
You might have captured for 3 and a half hours of footage but it’s that single 15-second clip of your friend stacking it or 30-second clip of your epic that you really want to share. So, be confident to cut the clutter and make a video that your viewers really want to see.
Scrub your footage slowly
To get the action in double quick fashion, you need to scrub through your lengthy video. It’s very easy to storm past the clip and end up watching the boring bit of your raw footage where you mistakenly forgot to turn off the camera unless you’re careful though. It doesn’t have to be that way. Don’t just drag the timeline left and right. The prolonged press allows you to extend the time marker to scroll seconds rather than minutes at a time.
Slow things down
Everybody loves a well-timed slow-motion video. It’s one of the best editing tricks. With GoPro-owned editing app, you can apply this on your mobile too. There are a lot of editing options in this app. You can find a button looks like a car’s speedo, it lets you alter the speed of the clip from a super slow to super speedy footage.
Color Balance
To have a consistent feel to the whole film, you need to adjust the color in your clips. You can put the high contrast saturated look or a washed out retro feel by balancing the color. It’s a useful technique to make your footages look professional.
Sound Effects
Feel free to add sound effects to your videos if you are shooting out of the case. For instance, you can ad in landing sound effects. They are great, you can record one and reuse it. But keep in mind that don’t pick a high pitched noisy sound effect. Your viewers wouldn’t like that very much.
You won’t get everything as desired at your first time, but you shouldn’t be discouraged by that. Don’t stop working at it. Keep exploring and keep learning. You’ll find things that work with you and a style over time. So I tell you, not to be afraid of trying new things. I hope these tips are useful! Get your GoPro and start having some fun!
Author Bio
John O. Brooks is a videographer, technologist, and a drone expert. He has straddled passions for videography throughout his career. He holds bachelor’s and master’s degrees in computer science. He lives in the San Francisco Bay Area with his wife and children.
Please share your best tips for documenting your journeys with a GoPro in the comments below, on Twitter, Facebook or Instagram.